Vancouver and Whistler in 5 days: the complete itinerary
This is the pairing most first-time visitors end up planning, whether they realize it going in or not: two nights in the city, a scenic drive north, and two or three nights in a mountain resort town that operates on a completely different rhythm. Five days is enough to do both properly without rushing either — less than that, and one side of the trip gets shortchanged.
| Where | Downtown Vancouver, then Whistler via Squamish |
| Cost | Around CAD 2,800–3,800 for two, mid-range, excluding flights |
| Time needed | 5 days minimum; 2 full days in Whistler is the practical floor |
| Getting there | Rental car (about 1hr45) or scheduled shuttle bus (2.5–3hrs) |
| Best time | Late spring through early fall for this version (May–October) |
How the days break down
The structure here is two days in Vancouver, one travel day that doubles as a stop in Squamish, and two days in Whistler. If your flights land or depart at odd hours, you can compress the Vancouver portion to a day and a half, but Whistler itself rewards a minimum of two full days — one day there tends to feel like a day trip rather than a stay, and the drive alone eats into it.
For where to base yourself in Vancouver, downtown or Yaletown put you closest to Stanley Park and the seawall with easy SkyTrain access, while Kitsilano across False Creek is quieter and closer to the beach if you’d rather trade some convenience for a more residential feel. Our where-to-stay guide breaks this down by neighborhood in more detail if you’re still deciding. This itinerary assumes a rental car from day 3 onward; if you’d rather skip driving entirely, see the FAQ below on shuttle alternatives.
Day 1: Downtown Vancouver and Stanley Park
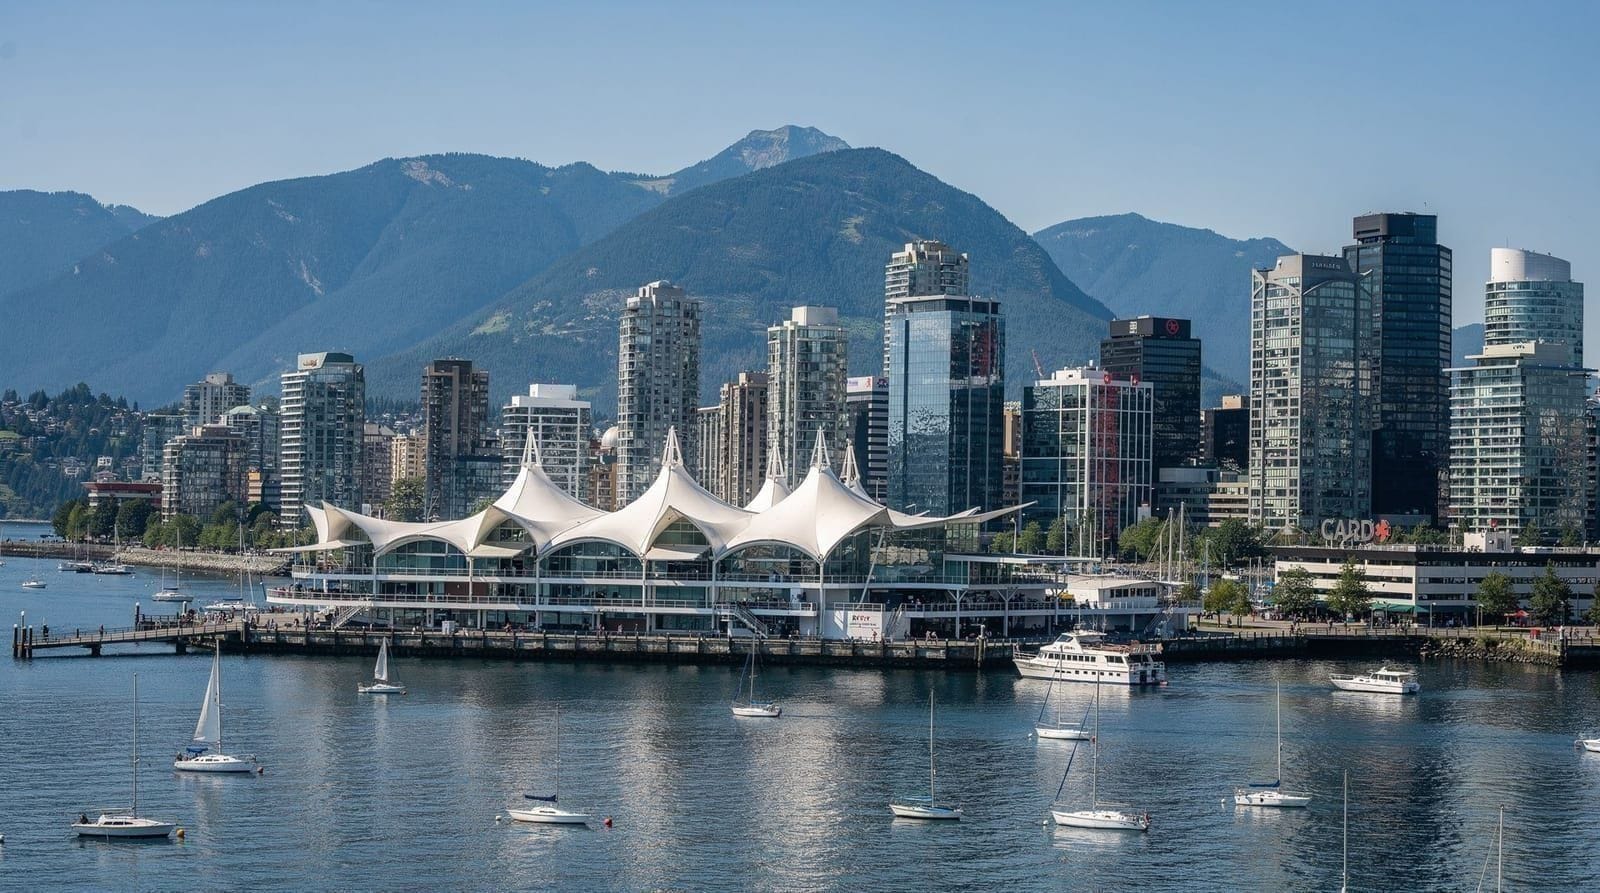
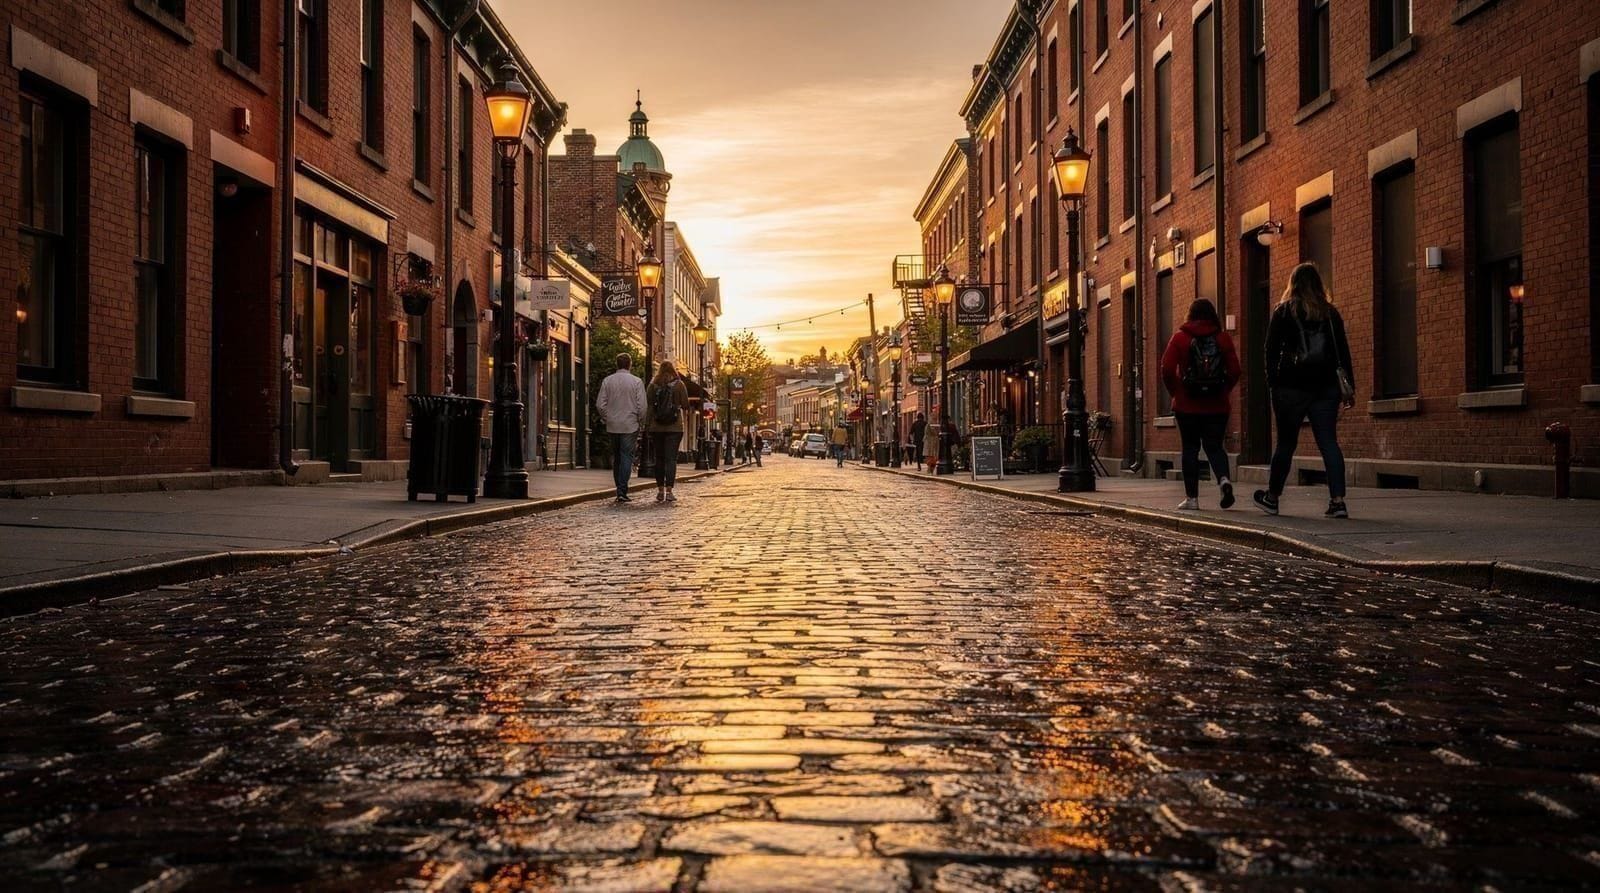
Start in the city core. Downtown Vancouver is compact and walkable, bordered by water on three sides, which makes orientation easier than in most North American cities. Spend the morning in Gastown, the city’s oldest neighborhood, known for its cobblestone streets, the (over-photographed but genuinely functional) steam clock, and a dense cluster of independent coffee shops and restaurants — it’s touristy in patches but still has real local business mixed in, unlike some historic districts that have become pure retail.
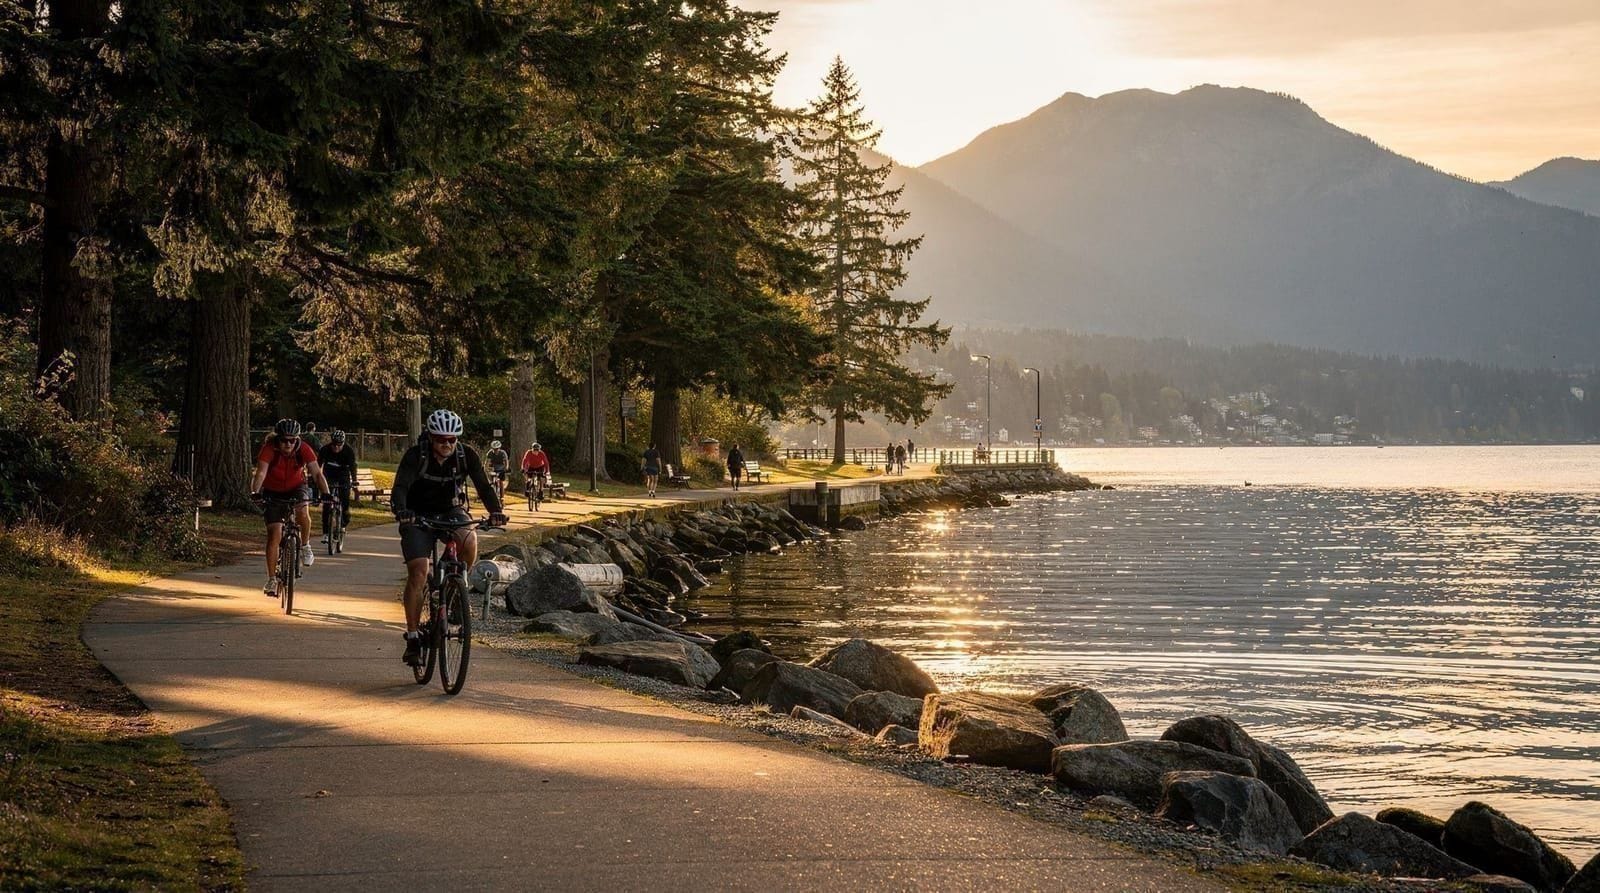
In the afternoon, head into Stanley Park, a 405-hectare park that’s larger than New York’s Central Park and almost entirely forested old growth along its interior, with a 10-kilometre seawall path around the perimeter.
Walking or renting a bike are both reasonable ways to see it; a guided Stanley Park bike tour with e-bike upgrade available is a good option if you’d rather not navigate rental logistics yourself, and covers the seawall plus some interior trails with commentary on the park’s totem poles and history. For a slower, more focused visit, our Stanley Park guide and seawall guide break down which sections are worth prioritizing if you don’t have time for the full loop.
For dinner, Yaletown’s converted warehouse district has a concentration of mid-range restaurants within walking distance of most downtown hotels; if you’re staying closer to the West End, English Bay has a stretch of casual restaurants with sunset views over the water.
Day 2: North Shore mountains
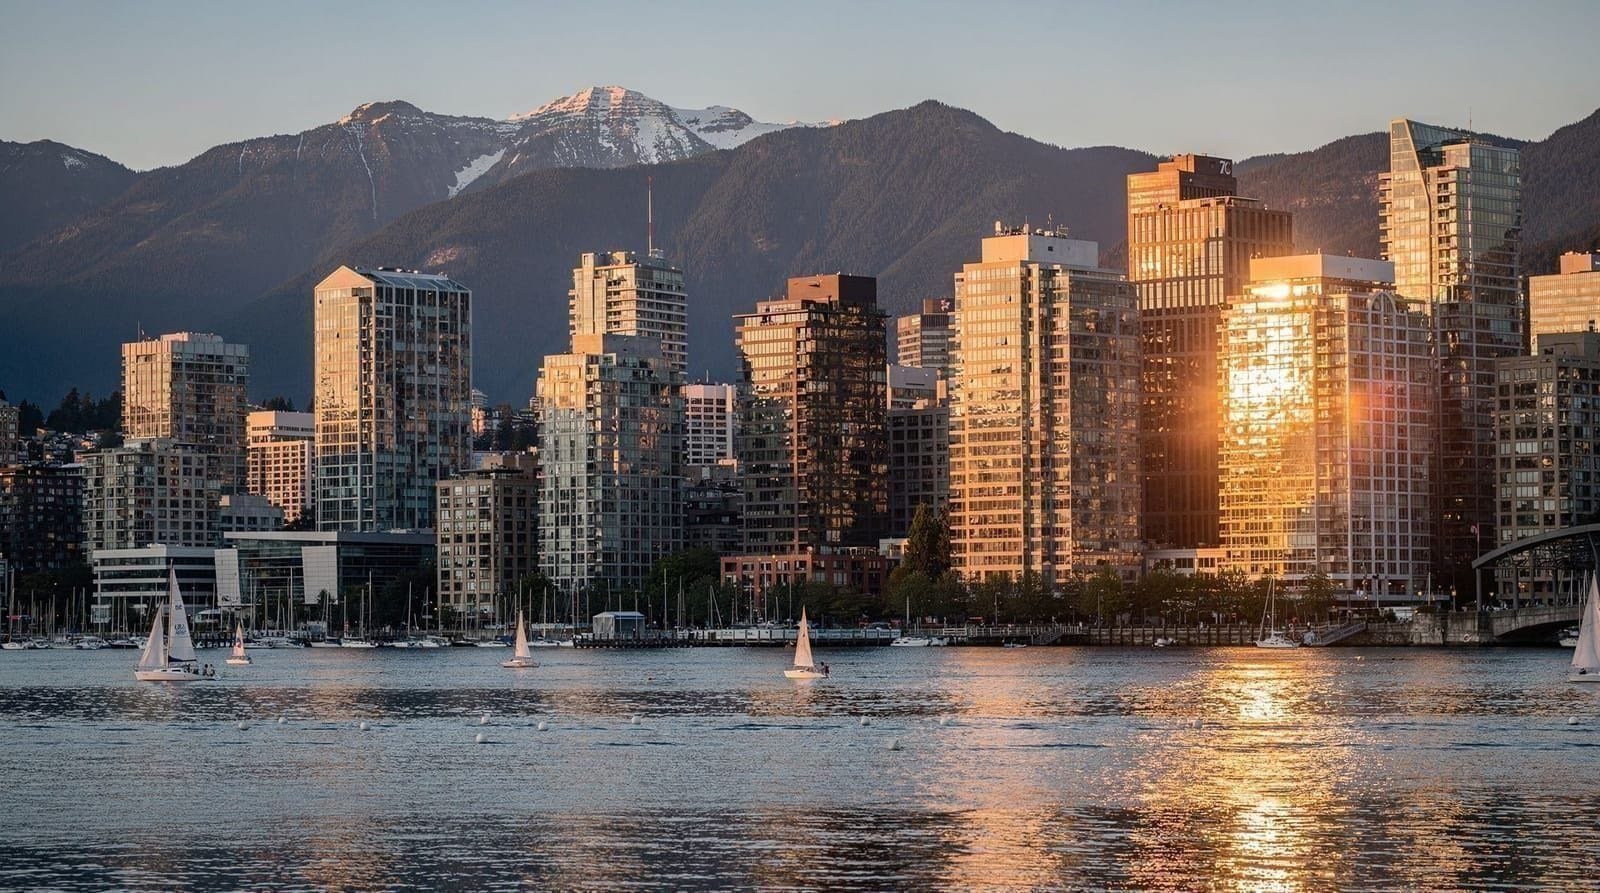
The North Shore — North Vancouver and West Vancouver, just across Burrard Inlet — is where Vancouver’s mountains actually are, and it’s the single best way to get a genuine alpine experience without leaving the metro area. A combined Capilano Suspension Bridge and Grouse Mountain day tour covers both of the North Shore’s marquee attractions in one outing with transport included, which is convenient if you don’t have a car yet at this point in the trip.
Capilano Suspension Bridge is the well-known, commercially developed option — a 137-metre suspension bridge 70 metres above the Capilano River, plus a treetop walkway and cliffside boardwalk. It’s a legitimate experience but also genuinely crowded and not cheap; if you’d rather see similar rainforest scenery for free, Lynn Canyon a few kilometres east has its own (shorter, lower) suspension bridge and swimming holes with no admission fee.
Our Capilano versus Lynn Canyon comparison breaks down which one actually suits your plans — Capilano if you want the fuller attraction experience with more infrastructure, Lynn Canyon if you’re on a budget or have already done a suspension bridge elsewhere.
Grouse Mountain, reached by the Skyride gondola, adds resident grizzly bears, a summit chalet, and (weather permitting) genuine alpine views back over the city. Between the two stops and lunch, this comfortably fills a day. If you have energy left in the evening, Deep Cove further east has a short, popular hike up to Quarry Rock with a good payoff view over Indian Arm, best done in the last couple of hours before sunset in summer.
Day 3: Drive to Whistler via Squamish
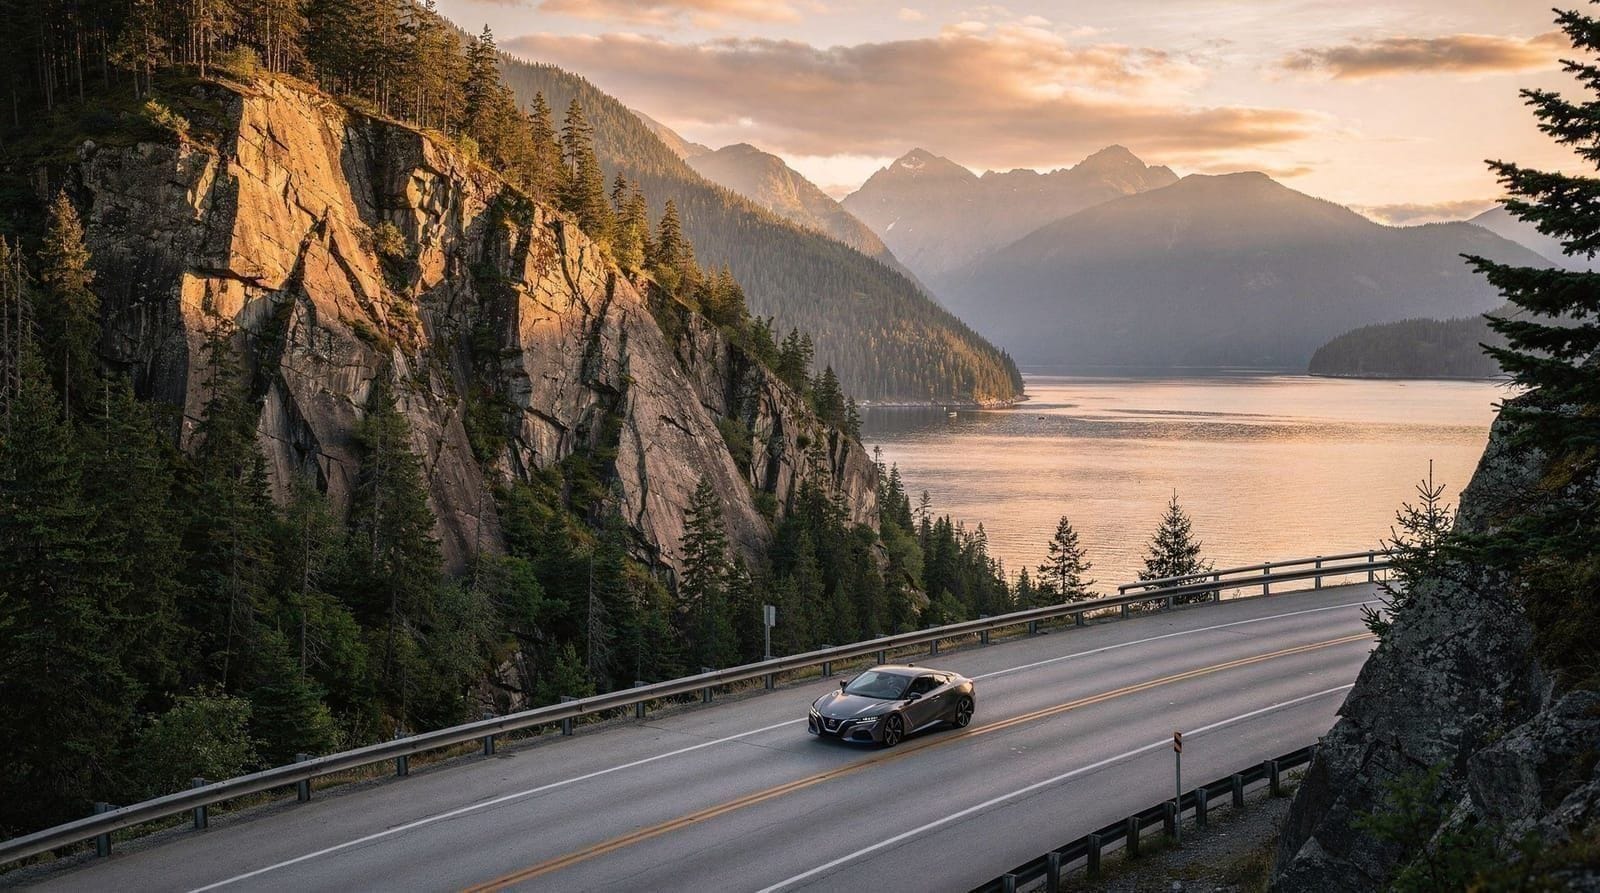
Pick up your rental car this morning if you haven’t already — you won’t need one for the Vancouver portion, but you will for getting to and around Whistler efficiently, unless you opt for one of the shuttle bus services instead (see the FAQ below). Highway 99 north out of Vancouver is itself one of the more scenic drives in the region, running along Howe Sound before climbing into the mountains proper.
Break up the roughly 1 hour 45 minute drive to Whistler with a stop in Squamish, about halfway. The Sea to Sky Gondola climbs to 885 metres in about 10 minutes and includes a suspension bridge and viewing platform looking back down Howe Sound — it’s a worthwhile 90-minute to two-hour detour even on a travel day; our Sea to Sky Gondola guide has trail options once you’re at the top. Shannon Falls, right next to the gondola base, is a five-minute walk from the parking area to the base of a 335-metre waterfall if you want a second quick stop without much extra time.
Continue on to Whistler in the afternoon and check into your accommodation. Options span a wide range: Fairmont Chateau Whistler and Nita Lake Lodge sit at the upper end for travelers who want a full resort experience, while Pangea Pod Hotel offers a genuinely budget-friendly option in the village core, and Crystal Lodge & Suites lands in the middle with a good walkable location. Spend the evening exploring Whistler Village, a fully pedestrianized cluster of plazas and restaurants between the bases of Whistler and Blackcomb mountains — Purebread for a casual bakery stop, or Araxi Restaurant + Bar if you’re in the mood for a proper sit-down dinner.
Day 4: Whistler Village and the mountains
Ride the Peak 2 Peak Gondola, which links the summits of Whistler and Blackcomb mountains in an 11-minute crossing and is, on a clear day, one of the more striking gondola rides in North America regardless of season. In summer (roughly June through September) this connects into an extensive network of alpine hiking trails; in winter it’s part of the ski lift system.
For an organized full-day option that includes transport, sightseeing stops, and guided time in Whistler, a full-day Whistler tour from Vancouver is worth considering if you’d rather not drive yourself on this particular day — though since you’ll already be staying in Whistler on this itinerary, self-directed exploration on foot or via the free village shuttle generally works better once you’re actually there.
In summer, the Ziptrek Eagle zipline tour runs through old-growth forest between the two mountains and is a reasonable half-day adventure activity if you want something more active than sightseeing.
Alpine hiking trails accessible from the top of either gondola — the High Note Trail on Whistler Mountain is the best-known — offer serious payoff views for a moderate amount of walking, generally open from July through September depending on snowpack. If you’d rather not navigate trail junctions yourself on your one full mountain day, a guided wilderness hike in Whistler covers route-finding and pacing with a local guide.
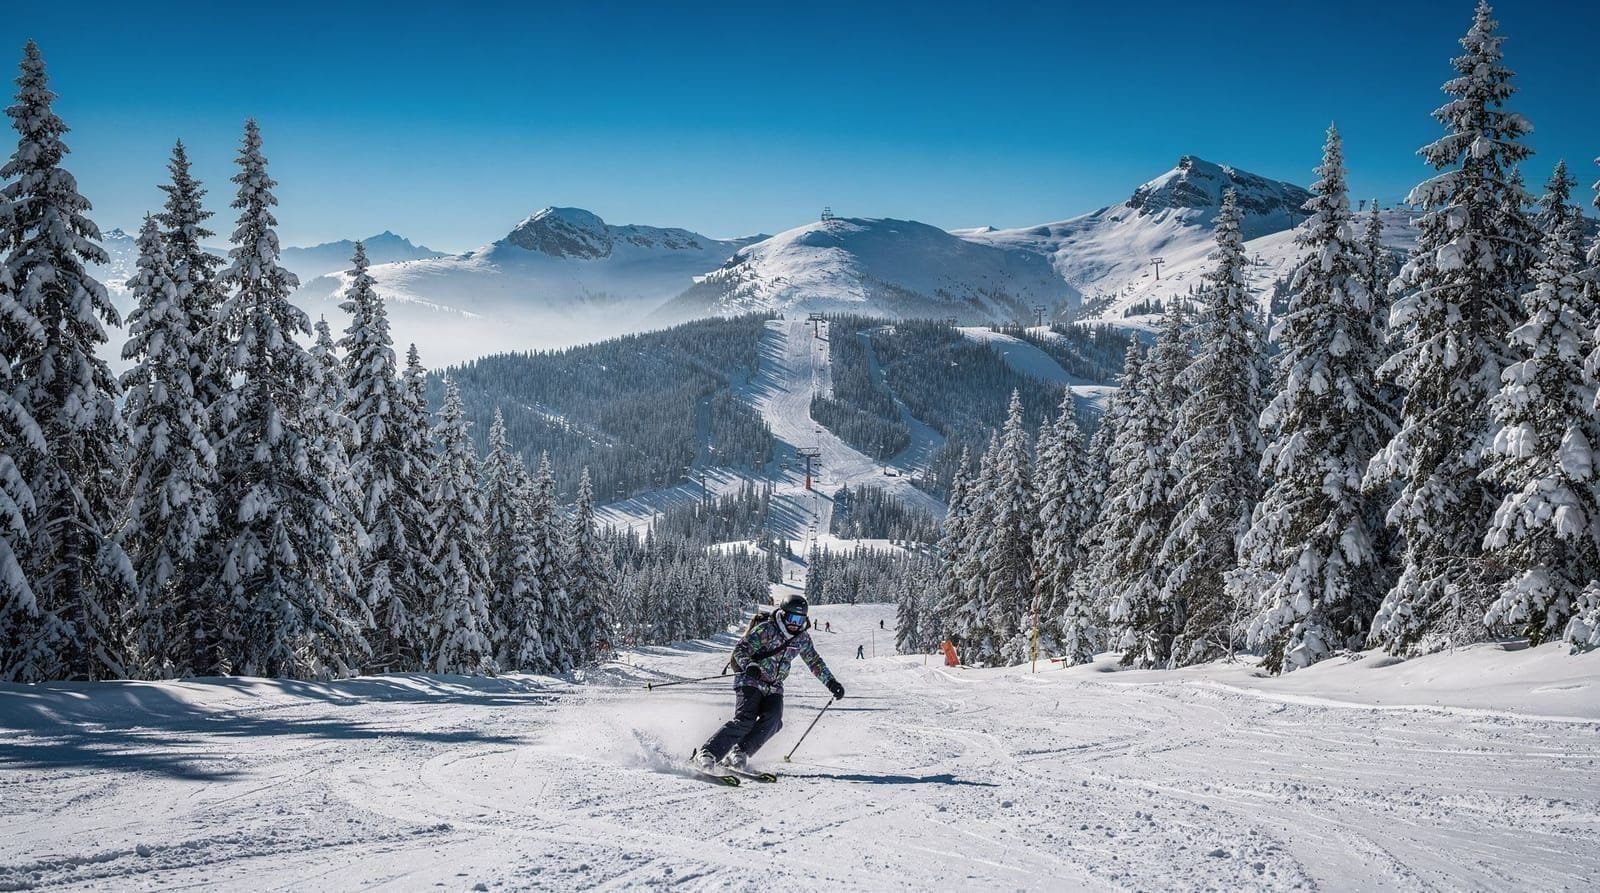
In winter (late November through early May, conditions permitting), swap the summer activities for skiing or snowboarding on Whistler-Blackcomb, one of the largest ski resorts in North America by skiable terrain — see our dedicated Whistler skiing guide and the Vancouver and Whistler ski trip itinerary for a winter-specific version of this trip with lift ticket costs and gear logistics.
Day 5: Whistler morning, drive back to Vancouver
Use the morning for anything you didn’t get to — a spa visit, a lakeside walk at Lost Lake or Alta Lake, or simply a slower breakfast in the village before the drive. Whistler’s pace tends to be slower than the city’s, and a final unhurried morning is generally a better use of the day than trying to cram in one more activity.
Plan the drive back to Vancouver for early-to-mid afternoon to arrive before evening and avoid the worst of Sunday southbound traffic, which regularly backs up on Highway 99 between Squamish and Horseshoe Bay. The drive itself takes about 1 hour 45 minutes without stops. If your flight home is the next morning, this timing leaves room for a final Vancouver dinner and an easy night before departure; if you’re departing same-day, build in extra buffer time given the traffic variability.
Budget for this trip
Figure roughly CAD 200–280 per person per day for the Vancouver portion (hotel, food, one or two paid activities) and CAD 250–350 per person per day in Whistler, where accommodation and dining both run higher. Over five days for two travelers, a realistic mid-range total lands around CAD 2,800–3,800, excluding flights, and does not include the higher costs of a ski season visit, which push lodging up significantly over Christmas, New Year, and Family Day long weekend.
Car rental adds roughly CAD 300–450 for the trip depending on vehicle class and season; see our car rental notes for what affects that price. Our is Vancouver expensive guide has a broader cost breakdown if you’re weighing this trip against a city-only visit.
Money, connectivity, and what to pack
Canada uses the Canadian dollar (CAD), and tap-to-pay is accepted almost everywhere in both Vancouver and Whistler, so carrying cash isn’t necessary beyond the odd farmers’ market stall. Cell coverage is solid in both towns and along most of Highway 99, though it does drop out in stretches of the Squamish canyon, which matters less if you’ve already downloaded offline maps for the drive.
Pack for genuine microclimate variation: Vancouver in summer is mild and often dry, while Whistler’s alpine sections can be noticeably cooler and windier even in July, so a layer beyond what feels necessary in the city is worth the extra space in your bag. If you’re hiking above the gondola stations, proper footwear matters — the High Note Trail and similar routes involve real elevation and loose rock in places, not paved paths. See our getting around Vancouver guide for how transit, rideshare, and parking work in the city before you pick up your rental car on day 3.
Frequently asked questions about this itinerary
Do I need a car for this trip?
Not strictly. TransLink covers the Vancouver portion well via SkyTrain and bus, and several shuttle operators run scheduled service between Vancouver and Whistler along Highway 99, generally taking 2.5–3 hours versus about 1 hour 45 minutes by car. A car is more convenient for the Squamish stop and gives you flexibility, but it’s not required if you’d rather not drive.
Is Whistler worth it in summer?
Yes, though it’s a different experience than winter. Summer trades skiing for hiking, mountain biking, ziplining, and the Peak 2 Peak Gondola as a scenic ride rather than a ski lift. Whistler markets itself heavily as a ski destination, so summer visitors sometimes arrive with lower expectations than the mountain actually delivers — the alpine hiking in particular is a genuine draw from July through September.
How do I get from Vancouver to Whistler without driving?
Several shuttle and bus operators run multiple daily departures from downtown Vancouver hotels and YVR directly to Whistler Village, generally in the CAD 60–90 one-way range. It’s a straightforward option if you don’t want to rent a car for the whole trip, though you’ll have less flexibility for stops in Squamish along the way.
How many days should I spend in Whistler?
Two full days is the practical minimum to get past a rushed day-trip feel — one day covers the village and one activity, but doesn’t leave room for both a gondola ride and a hike or adventure activity without feeling compressed. Three or more days makes sense if skiing is the primary goal, since lift tickets are expensive enough that spreading the cost over more days improves the value.
What’s the best time of year for this itinerary?
This itinerary as written assumes late spring through early fall (roughly May–October), when the Sea-to-Sky Gondola, ziplining, and alpine hiking trails are all in full operation and driving conditions are straightforward. For a winter version built around skiing, see the Vancouver and Whistler ski trip itinerary instead, which accounts for winter tire requirements and shorter daylight hours.
Should I do Vancouver first or Whistler first?
Either order works logistically, but doing Vancouver first (as laid out above) tends to suit jet-lagged arrivals better, since the city offers easier access to food, pharmacies, and a slower pace for the first day or two. Save Whistler, which requires more energy and planning around activity bookings, for once you’ve adjusted.
Is the Peak 2 Peak Gondola worth it if I’m not skiing?
Yes — it’s a genuine scenic attraction in its own right, not just ski-lift infrastructure. The 11-minute crossing between Whistler and Blackcomb’s alpine zones offers views that most summer hikers only get after a serious climb, and it connects into the high-alpine trail network without requiring you to walk up first. Our Peak 2 Peak Gondola guide has ticket pricing and the best times of day to ride for clear views.
What’s the difference between this trip and the ski version?
This itinerary assumes late spring through early fall and is built around hiking, ziplining, and the gondolas as scenic rides. The Vancouver and Whistler ski trip covers the same two-destination pairing but restructured for winter conditions, lift ticket costs, gear rental, and shuttle-only travel given winter driving requirements on Highway 99. They share a route but very little else in terms of daily activities or budget.