Vancouver and Whistler ski trip: a 5-day winter itinerary
This itinerary is a winter-only trip, and it’s worth being upfront about that before anything else. Whistler-Blackcomb typically operates from late November through early May, with conditions varying meaningfully by year and snowpack — the resort publishes an opening target most seasons, but early and late season skiing can be limited or weather-dependent. If you’re planning a summer visit to Vancouver and Whistler, this itinerary isn’t the right one; see the Vancouver and Whistler in 5 days itinerary instead for the warm-weather version built around hiking, ziplining, and the gondolas as scenic rides.
For a broader look at how the ski season plays out across British Columbia’s resorts and what to expect month to month, see our ski season BC guide, and our Vancouver in winter guide for what the city itself is like this time of year — wetter and greyer than summer, generally, but with its own appeal.
The shape of this trip
One day arriving and settling into Vancouver, a day mixing city time with a taste of local skiing, a transfer to Whistler, two full days of skiing or snowboarding on Whistler-Blackcomb, and a final day for snowshoeing or a spa visit before heading home. It’s built for travelers without a car, relying on shuttle services for the Vancouver–Whistler leg.
| Where | Vancouver, then Whistler via shuttle |
| Cost | Around CAD 3,800–5,500 for two, luxury tier, excluding flights |
| Time needed | 5 days minimum; 2 full ski days is the practical floor |
| Getting there | Shuttle bus, 2.5–3hrs (no car needed for this itinerary) |
| Best time | Late November through early May; avoid Christmas–New Year and Family Day for value |
Day-by-day at a glance
| Day | Base | Focus |
|---|---|---|
| 1 | Vancouver | Arrival, easy pace, jet lag recovery |
| 2 | Vancouver | Grouse Mountain skiing or city time |
| 3 | Whistler | Shuttle transfer, settle into the village |
| 4–5 | Whistler | Two full days skiing Whistler-Blackcomb |
| 5–6 | Whistler → Vancouver | Snowshoeing or spa, return transfer |
Day 1: Arrive in Vancouver
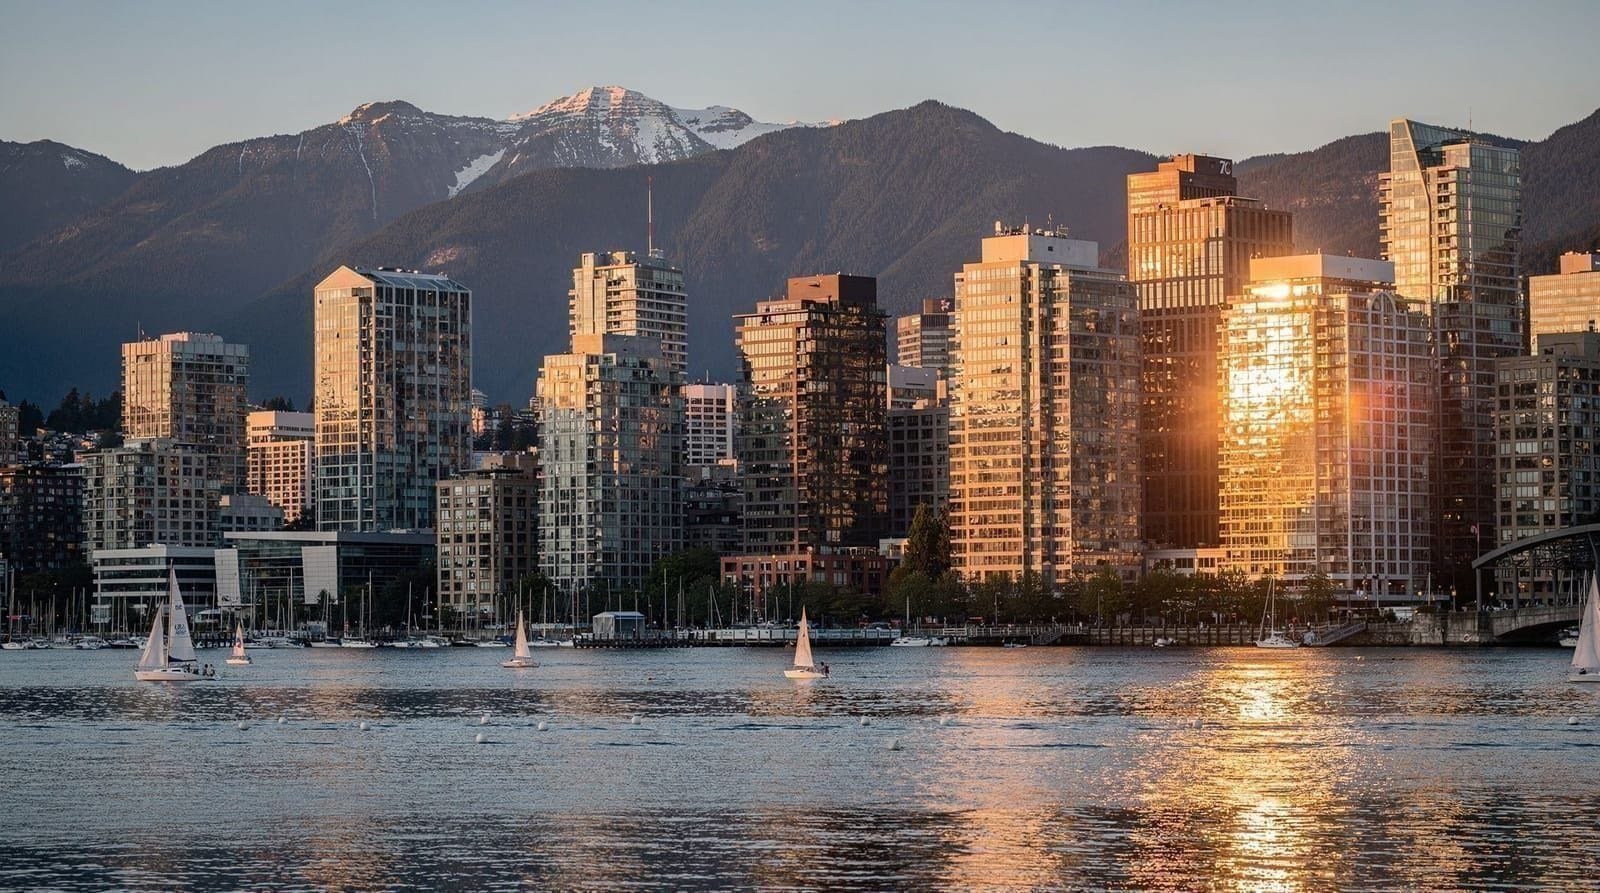
Settle in and adjust. If you’re arriving from overseas, a slower first day helps with jet lag before the more physically demanding ski days ahead. Walk downtown Vancouver and Gastown at an easy pace, and get any last gear sorted — most visitors renting ski or snowboard equipment do so in Whistler itself rather than Vancouver, since Whistler’s rental shops are set up for exactly this and it saves carrying gear on the shuttle.
Day 2: Grouse Mountain and city time
Grouse Mountain, on Vancouver’s North Shore, runs its own local ski and snowboard operation through the winter — smaller than Whistler-Blackcomb by a wide margin, but genuinely useful as a low-commitment first day if you want to shake off travel stiffness before the bigger mountain, or if you’re traveling with someone who wants a gentler introduction to the snow. A Grouse Mountain Express Skyride gets you up the mountain quickly, and the runs here are compact enough to do a few laps in a few hours without committing the whole day.
Cypress Mountain and Mount Seymour, the North Shore’s other two local ski areas, are reasonable alternatives to Grouse if you’d rather try a slightly bigger local hill — our Cypress skiing and Mount Seymour winter guides cover what each does differently, and our Grouse Mountain winter guide goes deeper on Grouse specifically. None of the three compares to Whistler-Blackcomb in scale, but all three are close enough to downtown to fit into a single afternoon without eating into your travel schedule.
If skiing two days in a row before Whistler doesn’t appeal, spend the rest of day 2 in the city instead — the Museum of Anthropology at UBC and Granville Island’s public market are both reasonable lower-key options. Either way, plan to be back downtown by evening to pack for the transfer to Whistler the next morning.
Getting to Whistler without a car
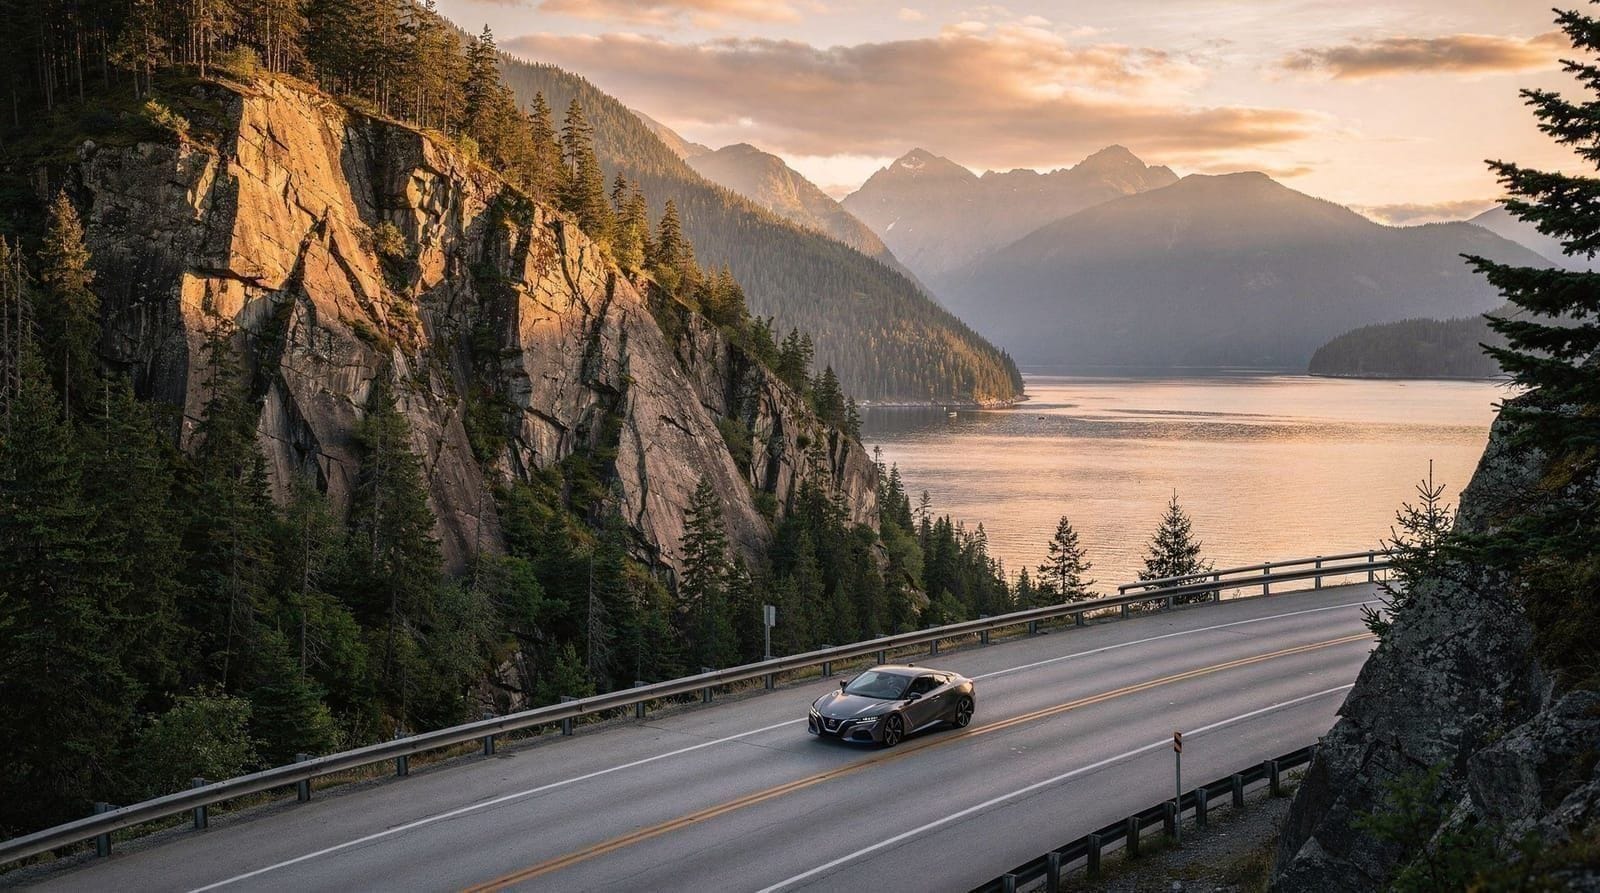
This itinerary assumes no car, relying instead on scheduled shuttle bus service — several operators run multiple daily departures between downtown Vancouver hotels (and YVR) and Whistler Village along Highway 99, typically taking 2.5 to 3 hours depending on stops and winter road conditions, versus roughly 1 hour 45 minutes by car in clear conditions. The extra time buys real peace of mind: winter driving on Highway 99 requires snow or all-season tires bearing the mountain snowflake symbol by law between October 1 and April 30, and the highway does see closures and delays during heavy snowfall or after accidents on the Squamish canyon sections.
For visitors unfamiliar with winter mountain driving, the shuttle is the more sensible option regardless of cost, and most services handle ski and snowboard gear directly without extra hassle. See our getting around Vancouver guide for how the shuttle services fit alongside SkyTrain and other transit for the Vancouver-only portion of the trip.
If you’d rather drive yourself, note that Squamish sits roughly at the midpoint of the route and is a reasonable stop to break up the drive or wait out a snow squall, with several cafes and breweries downtown open through winter.
Day 3: Transfer to Whistler and settle in
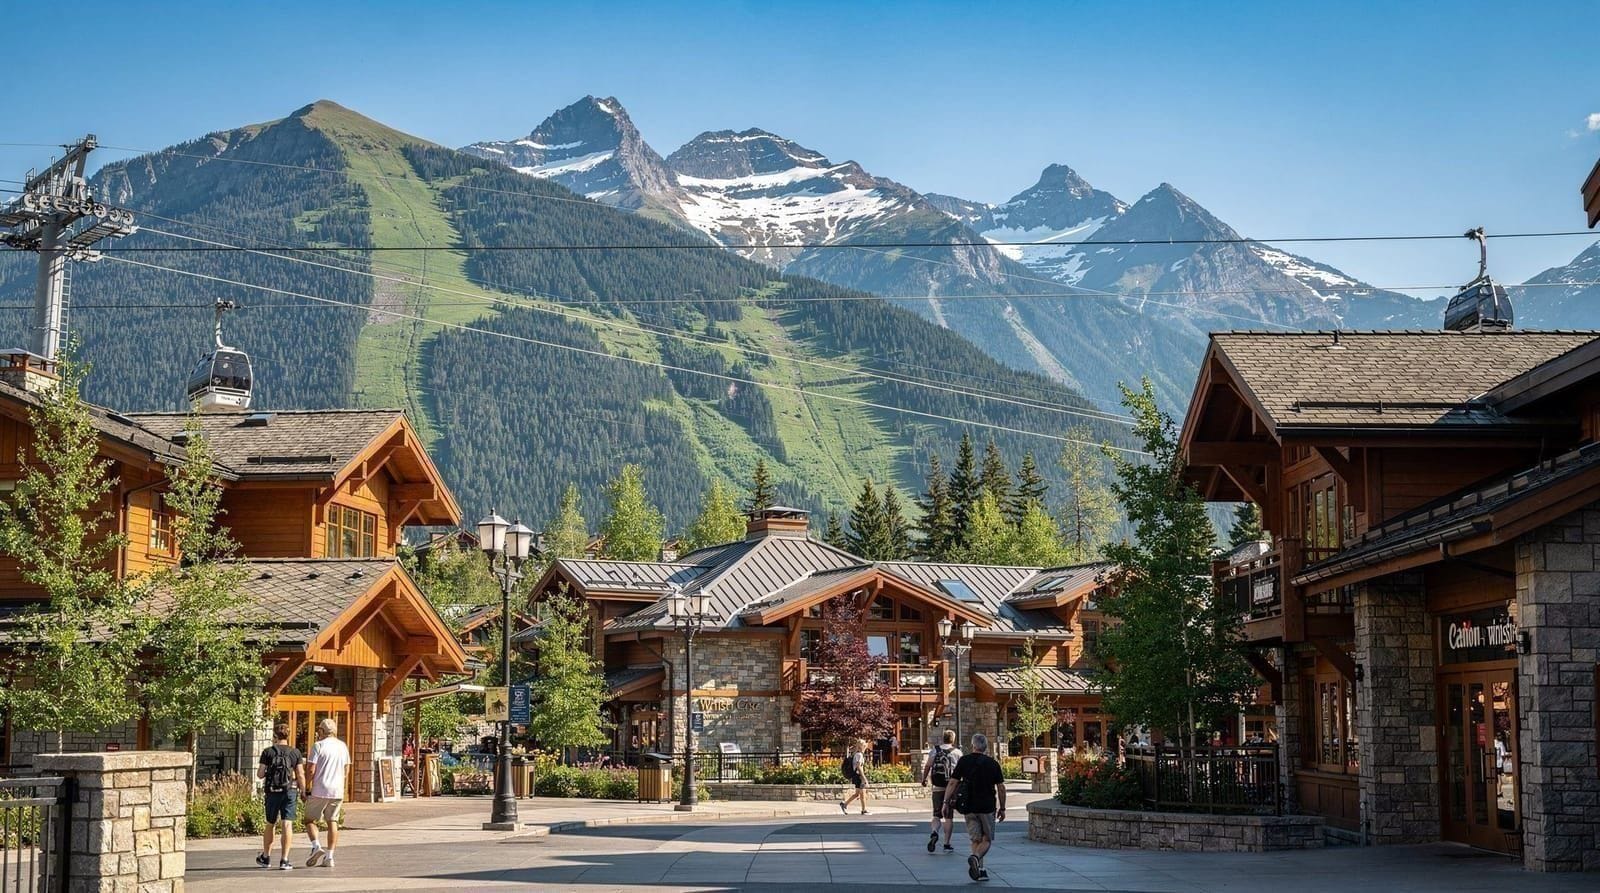
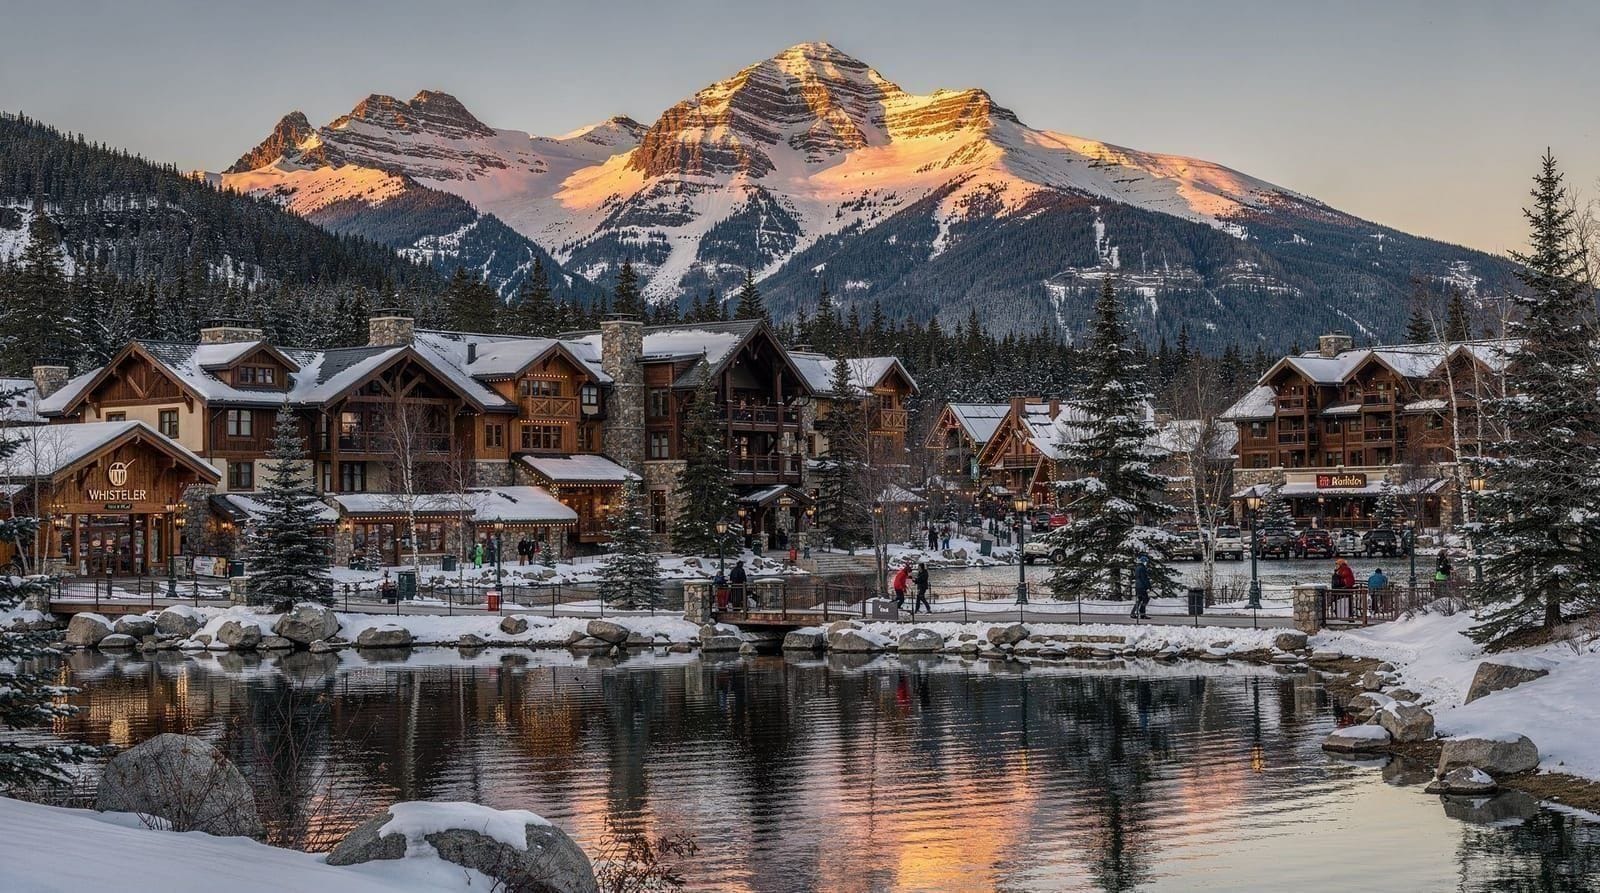
Take a morning shuttle to Whistler, arriving by early afternoon with time to collect rental gear, pick up your lift tickets or pass, and get oriented in the village before skiing the next morning. Whistler Village is fully pedestrianized and sits directly at the base of both mountains, so once you’ve arrived, you generally won’t need transport again until you leave.
Lodging in Whistler swings hard by date. The Fairmont Chateau Whistler, ski-in/ski-out at the base of Blackcomb, is the area’s marquee luxury property; Nita Lake Lodge, a short walk or free shuttle from the village at Whistler Creekside, offers a quieter, similarly upscale alternative with easier access to Creekside’s lift; and even mid-range options like the Pan Pacific Whistler Village Centre climb noticeably in price during the Christmas–New Year stretch and the mid-February Family Day long weekend, both of which are worth booking well ahead of or deliberately avoiding if budget is a concern.
Spend the evening in the village — Bar Oso for a lower-key first night, or Araxi Restaurant + Bar if you want a proper sit-down dinner before two full ski days.
Days 4–5: Whistler-Blackcomb skiing
Whistler-Blackcomb is one of the largest ski resorts in North America by skiable terrain, spanning two connected mountains with a combined vertical drop of over 1,600 metres and terrain genuinely suited to every ability level, from long, groomed beginner runs to some of the more serious expert terrain on the continent. The Peak 2 Peak Gondola links the two mountains’ alpine zones directly, letting skiers move between Whistler and Blackcomb mid-day without descending to the village first.
Lift tickets are expensive relative to most North American resorts — full-day adult tickets typically run in the CAD 180–230 range depending on how far ahead you book (advance online purchase is meaningfully cheaper than walk-up window pricing), so multi-day passes purchased ahead of time are worth the modest planning effort. Ability-level matters more here than at smaller hills: beginners should stick to the lower mountain runs off the Whistler side initially rather than getting drawn onto Blackcomb’s more committing terrain, while intermediate and advanced skiers have genuinely enormous amounts of terrain to work through across two full days without repeating much.
If you’re newer to backcountry-adjacent terrain and want to go beyond the groomed resort runs on one of your two days, a guided introduction to backcountry skiing and splitboarding is a structured, safety-focused way to try it with proper avalanche awareness instruction rather than heading into ungroomed terrain without guidance — genuinely not something to improvise on your own without training.
For a full-day option covering guided runs and mountain highlights without a self-directed itinerary, a Whistler full-day mountain experience bundles guiding and a higher level of service for travelers who’d rather not plan the day themselves. See our Whistler skiing guide for run-by-run detail on both mountains, and the Whistler versus Grouse skiing comparison if you’re weighing how the two relate after your day 2 warm-up.
Day 5 evening / Day 6: Rest, snowshoe, or spa, then depart
After two demanding ski days, a lower-intensity final morning tends to be more appreciated than another push on the slopes, especially for less-experienced skiers whose legs will genuinely feel it by the third day of the trip.
Snowshoeing is the standout alternative here — a guided snowshoeing trip at the top of the Sea to Sky Gondola, near Squamish on the way back toward Vancouver, gets you into genuine alpine winter terrain at a much gentler pace than skiing, with views back down Howe Sound that are arguably even better in winter’s clear cold-air conditions than in summer haze. It works well worked into the return shuttle or drive, since the gondola sits directly on Highway 99 between Whistler and Vancouver.
Alternatively, several Whistler hotels run genuinely good spa facilities, and a slower final morning centered on that rather than more outdoor activity is a reasonable way to close out a physically demanding few days before the shuttle or flight home. Either way, plan the return transfer to Vancouver with enough buffer before a flight — winter road and weather delays are real enough on this route that cutting it close is a risk not worth taking for a trip this expensive to have already invested in.
Booking timing and cost
Lodging in Whistler rises sharply and books up fastest for two windows: the Christmas to New Year stretch, when rates can run two to three times a typical January weekday, and the Family Day long weekend in mid-February, a major domestic ski holiday in BC. If your dates are flexible, January weekdays (outside the holiday stretch) and early-to-mid April, once crowds thin but the mountain is often still in solid condition, both offer noticeably better value.
This itinerary is priced toward the luxury end given Whistler’s lift ticket costs, ski-season accommodation rates, and gear rental. Figure roughly CAD 350–500 per person per day in Whistler once lift tickets, lodging, rentals, and meals are all accounted for, against CAD 180–250 per day for the Vancouver portion.
Over five days for two travelers, a realistic total lands around CAD 3,800–5,500, excluding flights — a genuinely different budget tier than the summer version of this trip, driven almost entirely by lift ticket and peak-season lodging costs. Renting gear in Whistler rather than bringing your own typically runs CAD 50–80 per day for skis or a snowboard, boots, and poles, and is generally worth it over checking oversized luggage on most international flights.
What to pack and check before you go
Layering matters more than any single piece of gear — a moisture-wicking base layer, an insulating mid-layer, and a waterproof outer shell handle the range of conditions Whistler throws at skiers over a season, from dry cold on a clear January morning to wet, heavy snow on a warmer coastal-influenced day, which happens more often here than at drier interior BC resorts given Whistler’s proximity to the coast. Goggles with a couple of lens options (a darker lens for sun, a lighter one for flat, overcast light) are worth the small extra cost, since visibility on overcast days is a genuine factor on this mountain more than at some drier, sunnier resorts further inland.
If you’re arriving from outside Canada, confirm your travel document requirements before booking — most visa-exempt visitors arriving by air need an eTA, while US visitors travel on a passport without one. It’s unrelated to skiing specifically, but worth sorting before a trip this cost- and date-sensitive, since ski season lodging generally isn’t refundable close to arrival.
Travel insurance with winter-sports coverage is also worth a specific check rather than assuming a standard policy covers you — some general travel insurance policies exclude skiing and snowboarding injuries by default or cap coverage well below what an off-mountain evacuation or a multi-day hospital stay would actually cost, and Whistler’s terrain, while well-patrolled, sees genuine injuries every season across all ability levels.
Money, safety, and a few practical notes
Canada uses the Canadian dollar (CAD), and tap-to-pay covers essentially every transaction in Vancouver and Whistler, so carrying much cash isn’t necessary. This itinerary sits at the luxury end of the budget spectrum given lift tickets and peak-season lodging — our is Vancouver expensive guide is a useful reference if you’re comparing this trip’s cost against a summer visit.
Both towns are safe for visitors; the handful of tourist-targeted issues worth knowing about, mostly around overpriced unofficial tour sellers rather than anything more serious, are covered in our Vancouver scams to avoid guide. If a rental car appeals more than the shuttle despite the winter driving considerations discussed above, see our car rental notes for what winter tires and insurance add to the cost.
Frequently asked questions about this itinerary
Do I need to be an experienced skier for this itinerary?
No. Whistler-Blackcomb has genuinely extensive beginner and intermediate terrain alongside its well-known expert runs, and ski schools run lessons for all levels. Day 2’s warm-up at Grouse Mountain is specifically there to let less confident skiers find their footing on a smaller, lower-stakes hill before Whistler’s scale. If you’ve never skied at all, book a lesson for your first Whistler morning rather than heading straight onto unfamiliar lifts.
Is snowshoeing at the Sea to Sky Gondola better than skiing for a rest day?
For most travelers, yes — it’s genuinely lower-impact on tired legs while still delivering real alpine scenery, and it requires no prior experience or equipment beyond what’s provided; our snowshoeing in Vancouver guide covers other options if you want to try it closer to the city too. Skiing a third or fourth consecutive day tends to show diminishing returns once fatigue sets in, both for enjoyment and for injury risk, which is exactly why this itinerary builds the rest day in rather than treating it as optional.